Spring Fireplace Deep Clean: Shine Your Hearth with Ease
Spring Fireplace Deep Clean: Shine Your Hearth with Ease
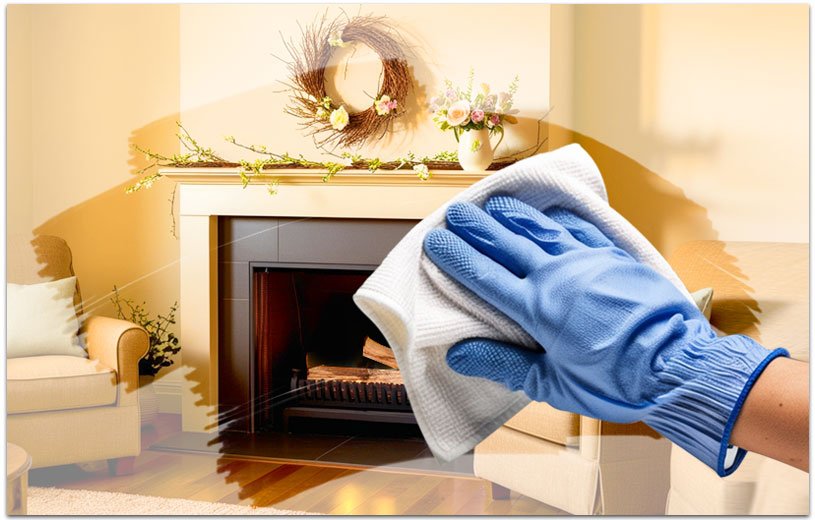
Spring Fireplace Cleaning & Maintenance Guide: Deep Clean Your Hearth and Prepare for the Warmer Months
As winter melts away and spring blooms into full swing, fireplaces often take a backseat to sunny patios and barbecue grills. But before you abandon your hearth until fall, there’s one important task to tackle — a good deep clean.
A thorough spring cleaning not only keeps your fireplace looking sharp, but it also ensures your hearth is safe, efficient, and ready for action when chilly weather returns. So, grab your gloves, crank up your favorite playlist, and let's give your fireplace the refresh it deserves.
🔥 Step 1: Clear Out the Ashes (Without a Dust Storm)
Clear Out the Ashes (Without a Dust Storm)
Ashes have a sneaky way of lingering long after your last fire. Before diving in, wait at least 24 hours after your last fire to ensure everything has cooled completely.
💡 Pro Tip: Sprinkle damp coffee grounds over the ashes before cleaning. This simple trick keeps dust from swirling into the air like a dramatic desert storm.
Use a metal scoop or fireplace shovel to remove ashes and debris.
Store cooled ashes in a metal container with a tight-fitting lid — ashes can stay hot for days, so this step is crucial for safety.
🧹 Step 2: Sweep and Vacuum Like a Pro

Sweep and Vacuum Like a Pro
Once the bulk of the ash is gone, it's time to go after the stubborn dust.
Use a fireplace broom or shop vac with a HEPA filter for best results.
Pay extra attention to corners and crevices where soot loves to hide.
🔥 Gas Fireplace Owners: Now’s a great time to vacuum burner ports and gently clean the pilot assembly to ensure dust doesn’t block the flame.
🧱 Step 3: Clean the Firebox Walls (Yes, They Need It Too)

Clean the Firebox Walls (Yes, They Need It Too)
Soot buildup on your firebox walls isn’t just unsightly — it can carry lingering odors, too.
Mix a solution of warm water, vinegar, and a few drops of dish soap.
Use a stiff-bristled brush to scrub away grime.
🌟 Bonus Tip: Sprinkle baking soda inside the firebox after cleaning to absorb stubborn odors. Just remember to vacuum it out before lighting your next fire.
🏗️ Step 4: Inspect the Chimney (It’s Worth It!)

Inspect the Chimney (It’s Worth It!)
I always recommend a professional chimney inspection at least once a year, but you can still perform a simple visual check yourself:
Shine a flashlight inside the chimney and look for signs of:
Creosote buildup (thick, dark residue)
Loose bricks or mortar cracks
Nest-building critters (birds are notorious springtime squatters!)
If you spot anything concerning, it’s time to call in a certified chimney sweep.
🪟 Step 5: Shine Those Glass Doors

Shine Those Glass Doors
Glass doors can quickly go from sleek and stylish to cloudy and covered in soot.
Create a cleaning paste using vinegar and baking soda.
Apply the paste and let it sit for 15 minutes before scrubbing with a damp cloth.
For stubborn stains, use a razor blade scraper — just be gentle to avoid scratches.
🛠️ Step 6: Clean Your Fireplace Tools

Clean Your Fireplace Tools
Your poker, shovel, and tongs have worked hard all winter. Show them some love:
Wipe them down with a damp cloth and mild soap.
For stubborn grime, a wire brush or steel wool works wonders.
🪵 Step 7: Don’t Forget the Hearth

Don’t Forget the Hearth
The hearth collects soot, dust, and debris — it's often dirtier than it looks.
Cleaning Tips by Material:
🧱 Brick/Stone: Use a baking soda paste to lift stains.
🟫 Wood: Use a dry cloth or wood-safe cleaner to avoid water damage.
🟦 Tile: A gentle cleaner or warm, soapy water will do the trick.
🖼️ Step 8: Refresh the Surrounding Area

Refresh the Surrounding Area
Your fireplace’s surroundings — mantel, decor, and walls — deserve some love too:
Dust shelves and decor.
Polish wood surfaces for a refreshed look.
Vacuum or mop nearby floors to banish leftover soot.
It’s incredible how much brighter your room feels after this step!
🔍 Step 9: Inspect and Replace Fireplace Gaskets

Inspect and Replace Fireplace Gaskets
For wood stoves and inserts, the gaskets around the door and glass help maintain efficiency. Inspect these for wear or fraying — replacing a worn gasket ensures your stove burns efficiently next season.
⛑️ Step 10: Cap Your Chimney for Safety

Cap Your Chimney for Safety
If you don’t already have one, consider installing a chimney cap. Think of it as putting a lid on your chimney — it keeps out:
Rain
Leaves and debris
Curious critters (squirrels and birds love chimney adventures!)
🚨 Bonus Tip: Check Your Smoke & Carbon Monoxide Detectors

Check Your Smoke & Carbon Monoxide Detectors
Since fireplaces pose fire and carbon monoxide risks, spring cleaning is the perfect time to check your alarms:
Test each detector.
Replace weak batteries.
Ensure alarms are positioned properly near fireplaces and bedrooms.
🌸 Final Step: Celebrate Your Clean, Cozy Hearth
Once your fireplace is spotless, step back and admire your hard work. Now’s the perfect time to:
Light a few candles in the firebox for ambiance.
Arrange decorative logs for a rustic look.
Add spring-themed decor like pastel vases or blooming flowers.
Even when your fireplace isn’t roaring, it can still be a stunning centerpiece in your home. Knowing your fireplace is fresh, safe, and soot-free will make those future fires even more relaxing.
Nova has already claimed her spot in front of the hearth — naturally, she believes any freshly cleaned space belongs to her.
Now that your fireplace is sparkling, how about celebrating spring with some iced tea on the patio? Nova’s already claimed the best seat in the yard — typical husky behavior!